
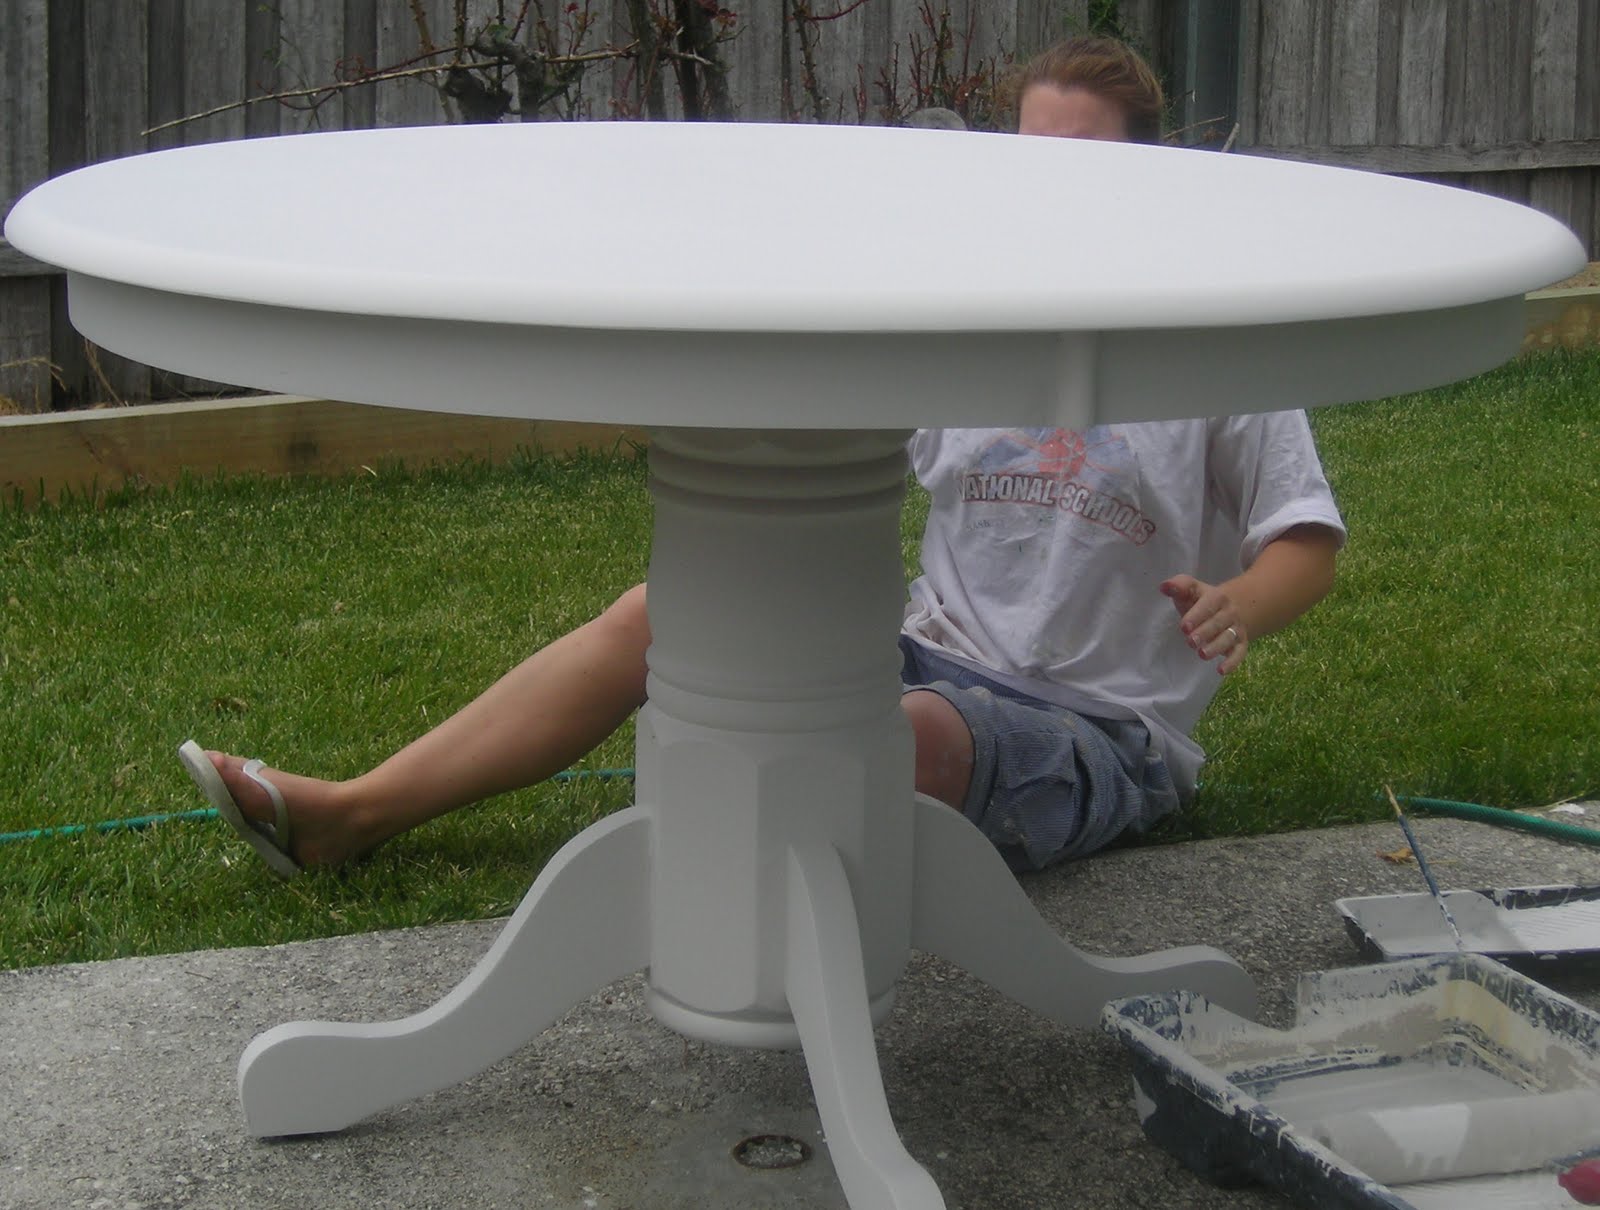
With that said I do have something to share (just not sewing related sorry). Our dining table! I decided to repaint this table because it had become quite scratched over the years of use and moving (it was a hand me down) and decided the finish needed to allow for more bumps and scratches while being bright and clean at the same time hence the shabby/ country look.

Table Makeover Tutorial
Supplies:

Sander (I used a hand sander but orbital sanders are better!)
80 grit sandpaper
Extension cord
White Paint (water based, low sheen)
Paint tray
8mm woollen roller (I used both a large and small roller)
Small paint brush (for details on your table)
Vaseline (petroleum jelly)
Spray varnish
Dust mask
Step 1.
Sand back table to remove all varnish (use sander according to manufacturer’s instructions)

Smear Vaseline thinly on random places on the timber (the darker patches in the photo below). The vaseline will make the sanding back much easier later and will leave the finished piece with random places where paint is removed. (If you don’t wish to have larger areas of timber exposed as I have I suggest applying the Vaseline AFTER your first coat of paint.)

Mix/stir paint to ensure it is all combined correctly in tin. Pour paint into paint tray. Using paint roller and/or paint brush apply 2-3 coats of paint (you will need to wait for each coat to dry before applying another layer)
Sand back the paint in random places as desired particularly on edges and corners as these generally get worn first. I recommend hand sanding so that you don’t remove more paint than you want. Once sanded wipe table with a damp cloth to remove excess dust.
Step 5
Spray table with clear varnish to seal and you are all done! Now go and enjoy your new/old table! ;p


4 comments:
That looks great and as I've recently acquired a pre-loved sewing cabinet that needs tidying up, minor modifications to suit my machine and a new look you've given me inspiration :).
Now if the rain would just go away!
Looks great, I love the rustic look!
Oooh I love it Clare. Jake also did the same thing to our dining table a few months ago. Love that the table is round, very chic.
What an amazing job you did, it's just beautiful!
Formal Dining Room Sets
Kitchen Tables On Sale
Best Furniture Stores In Denver
Casual Dining Room Sets
Mattress Stores Denver
Post a Comment